🛠️ How to Create a Service in BookingHub
Creating a service in BookingHub is the first step to start accepting bookings. Follow this guide to set up a service with pricing, availability, and custom options.
Step 1: Open the Services Panel
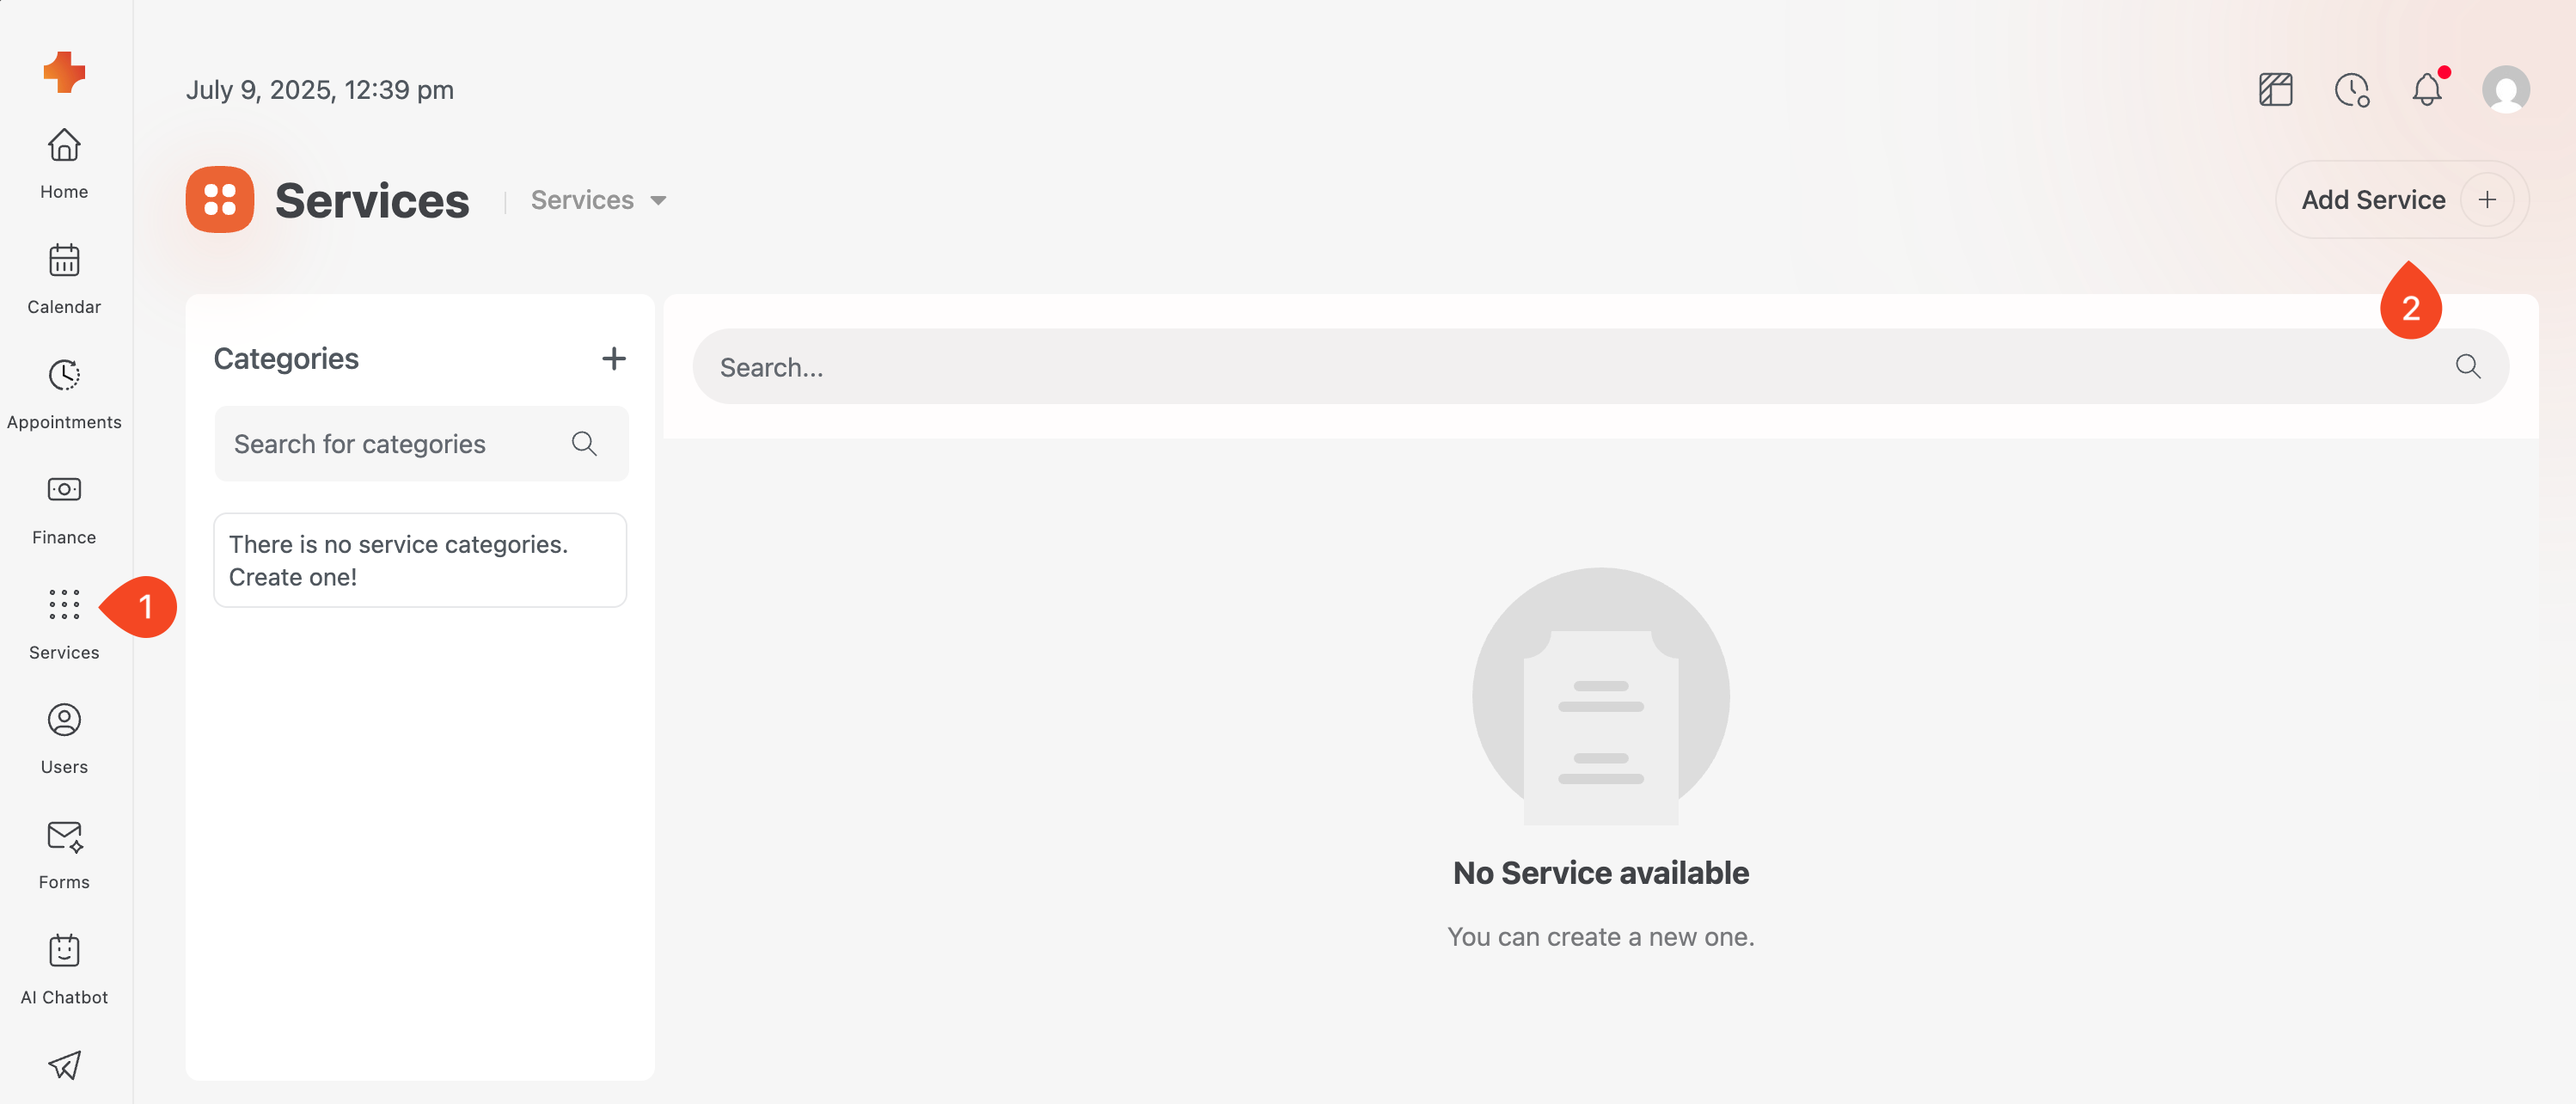
From your WordPress Dashboard, navigate to BookingHub → Services and click Add New.
Step 2: Fill in Service Details
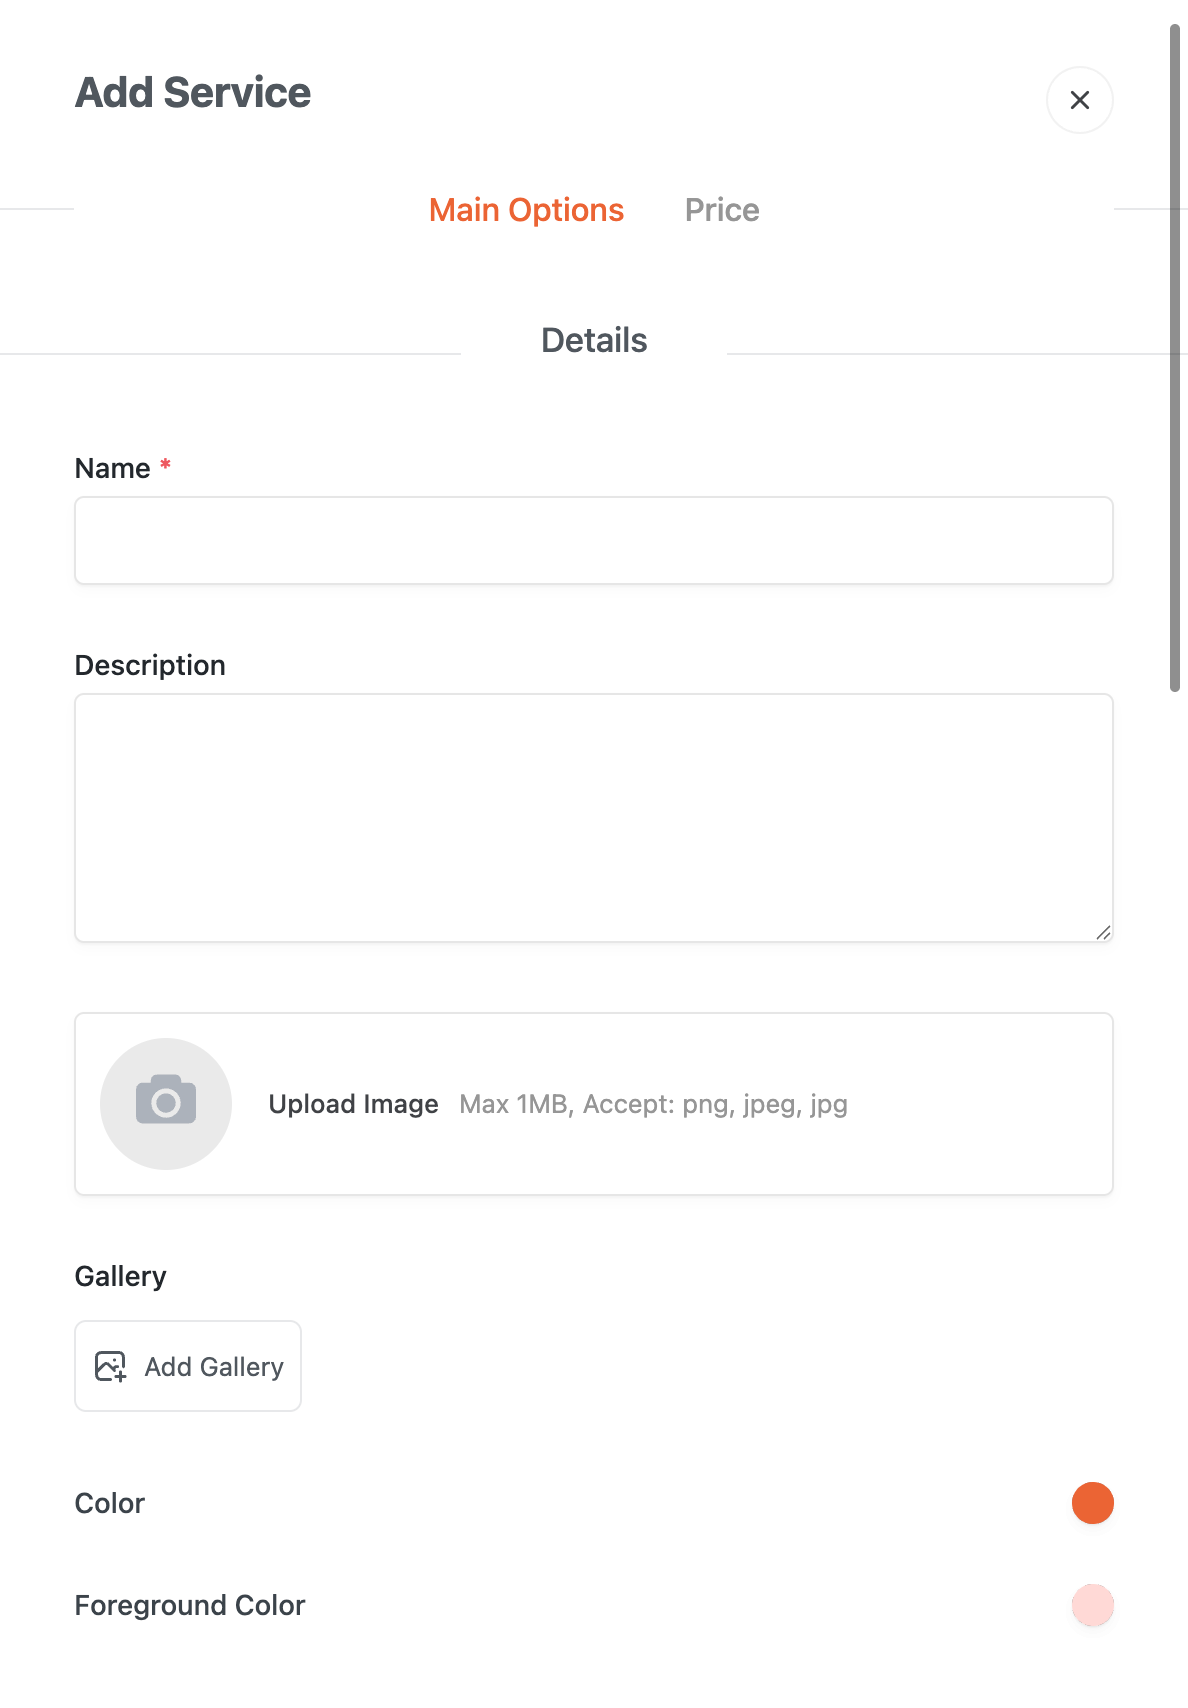
Under the Main Options tab:
Name: Enter a name for the service (required).
Description: Add an optional description.
Upload Image: Add a representative image (Max 1MB). (1MB limit may vary depending on the upload limit of your server)
Gallery: Add more images if needed.
Color & Foreground Color: These colors define how this service’s bookings will appear in the Booking Calendar. Helps visually distinguish between services.
Step 3: Set Service Length
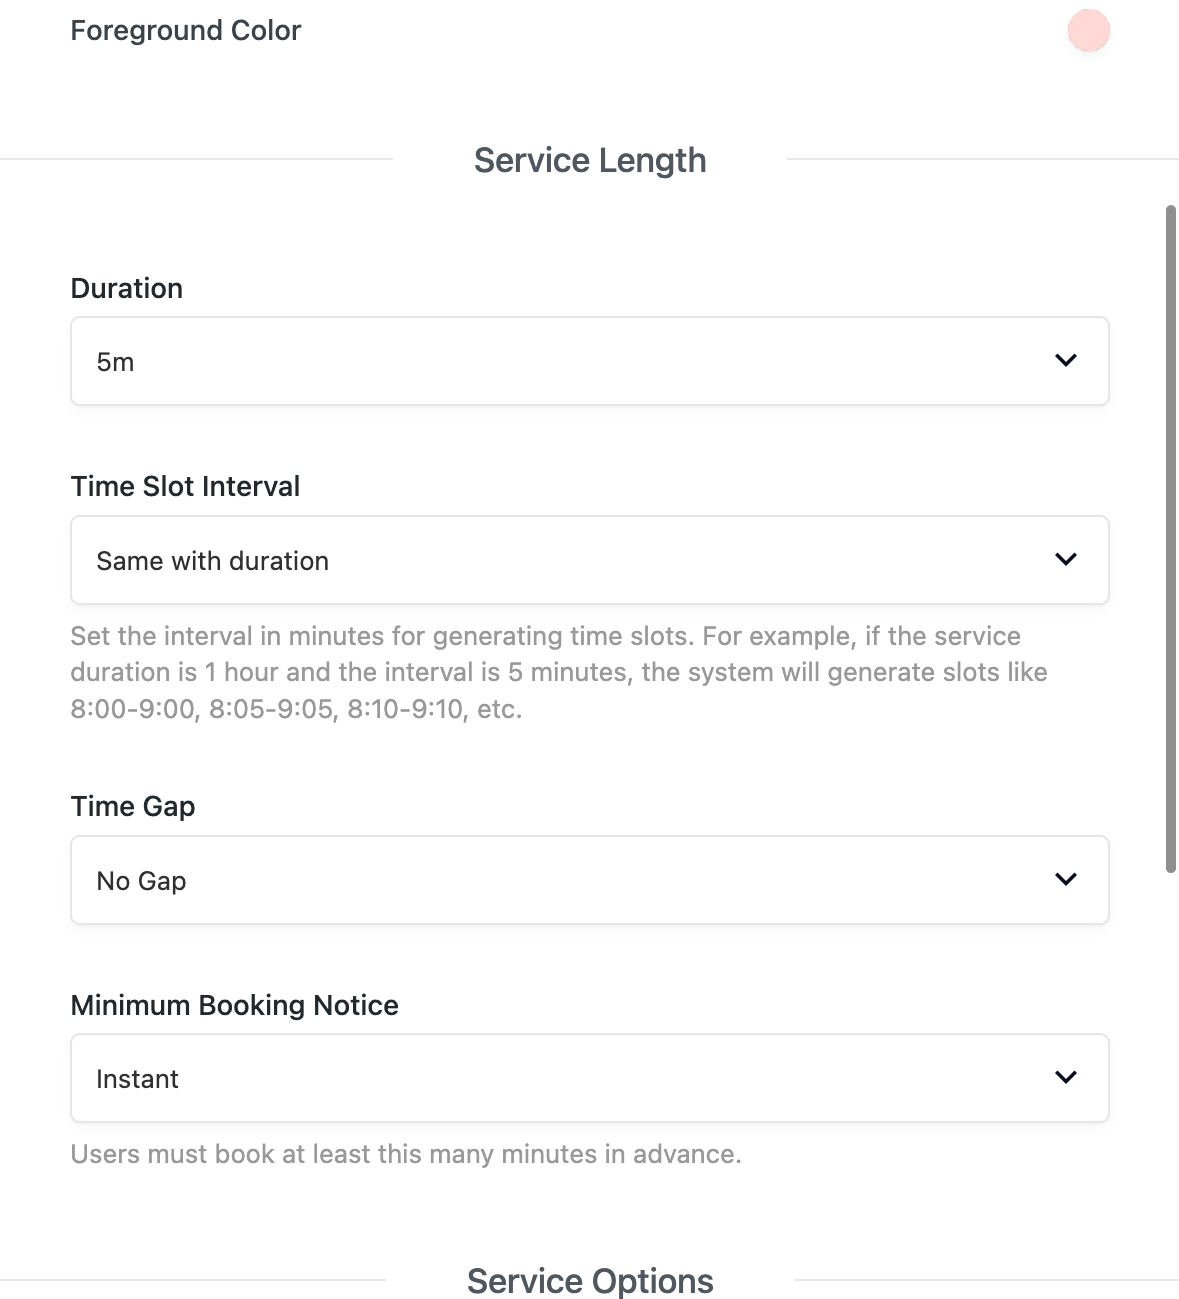
Scroll to the Service Length section:
Duration: Total time the service takes (e.g. 5m, 30m, 1h).
Time Slot Interval: Defines how often new slots are created (e.g. every 5 minutes).
Time Gap: Set a break time between bookings (optional).
Minimum Booking Notice: Set how soon users can book (e.g. Instant, 15 minutes, etc.).
💡 Example: If duration is 1h and interval is 5m, system creates slots like 8:00–9:00, 8:05–9:05, 8:10–9:10, etc.
Step 4: Configure Service Options
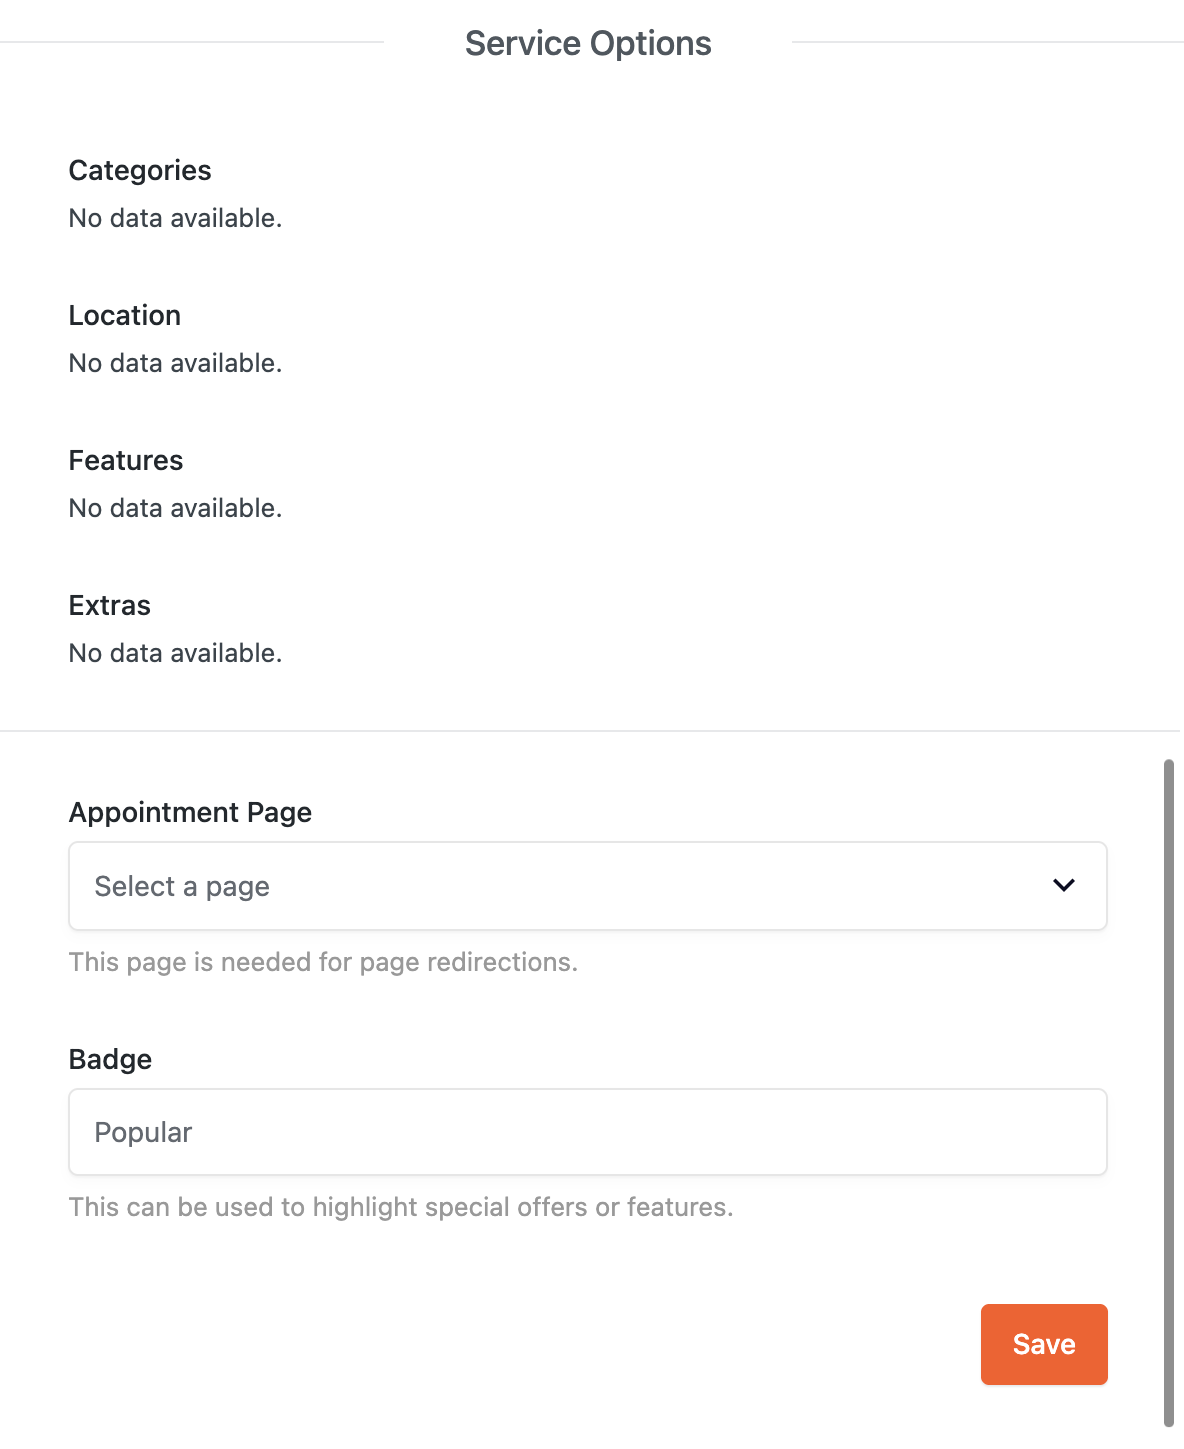
Under Service Options:
Categories, Location, Features, Extras: These will appear here if previously created.
Appointment Page: Select a redirect page for bookings.
Badge: Optional label (e.g. Popular, New, etc.)
Step 5: Set Pricing
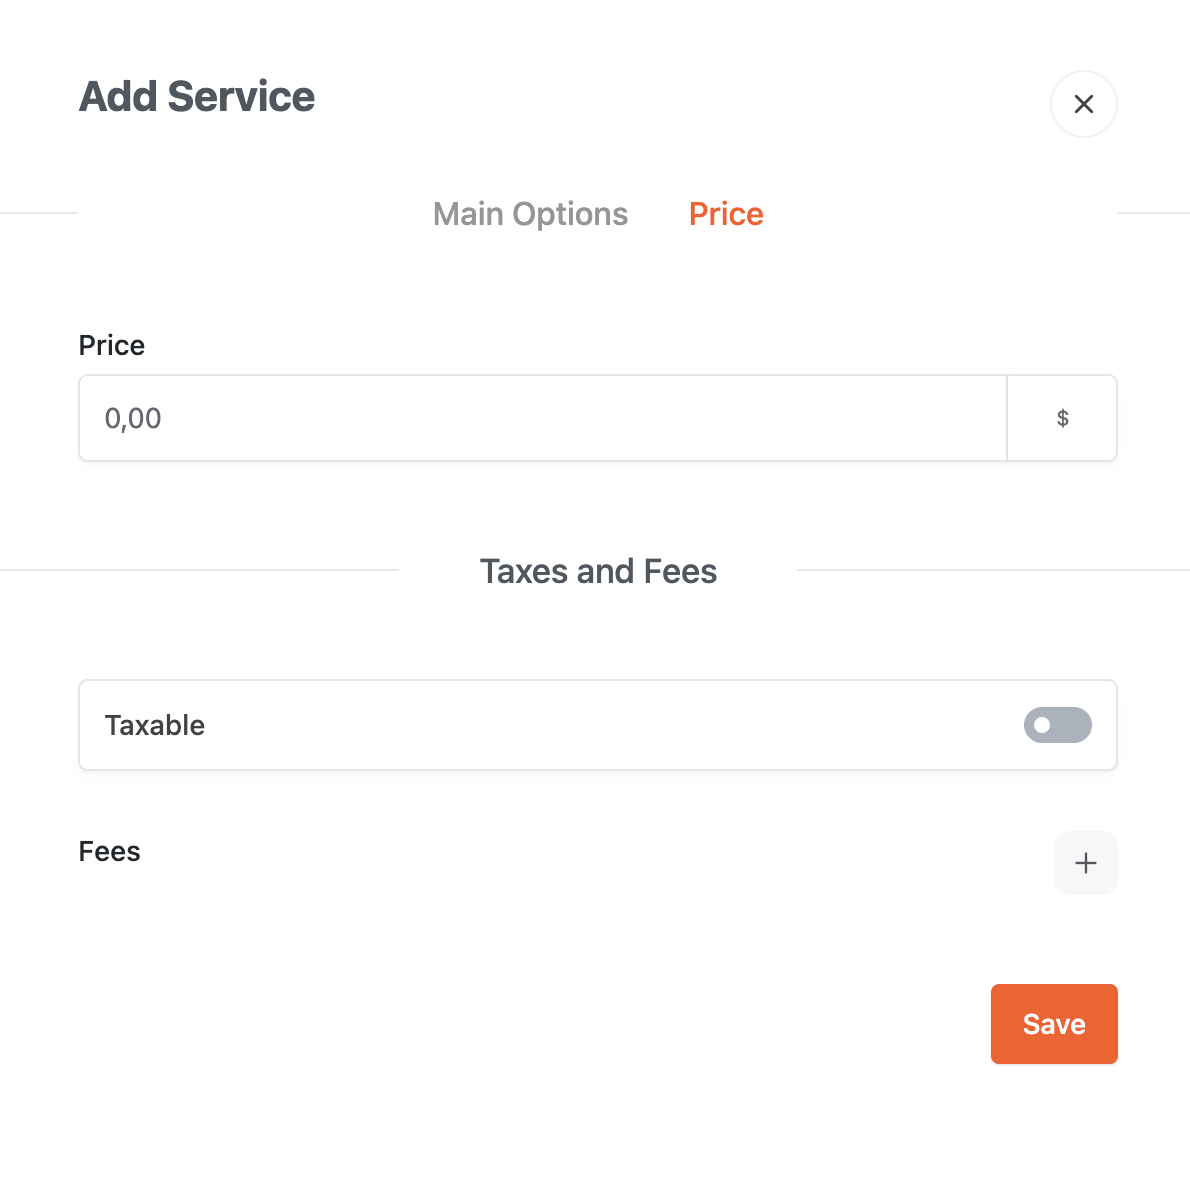
Switch to the Price tab:
Price: Set your service fee.
Taxable: Toggle if tax should apply.
Fees: Add custom fees if necessary.
Step 6: Save the Service
Once everything is filled out, click Save. Your service is now ready to be booked!