How to Set Up Email Notifications in BookingHub
BookingHub allows you to send automated email notifications to customers, staff, and admins based on booking events like confirmations, cancellations, reschedules, and more. Follow this guide to create and customize these notifications easily.
📩 Accessing Email Notifications
From your WordPress dashboard, go to BookingHub > Notifications.
✉️ Creating or Editing a Notification
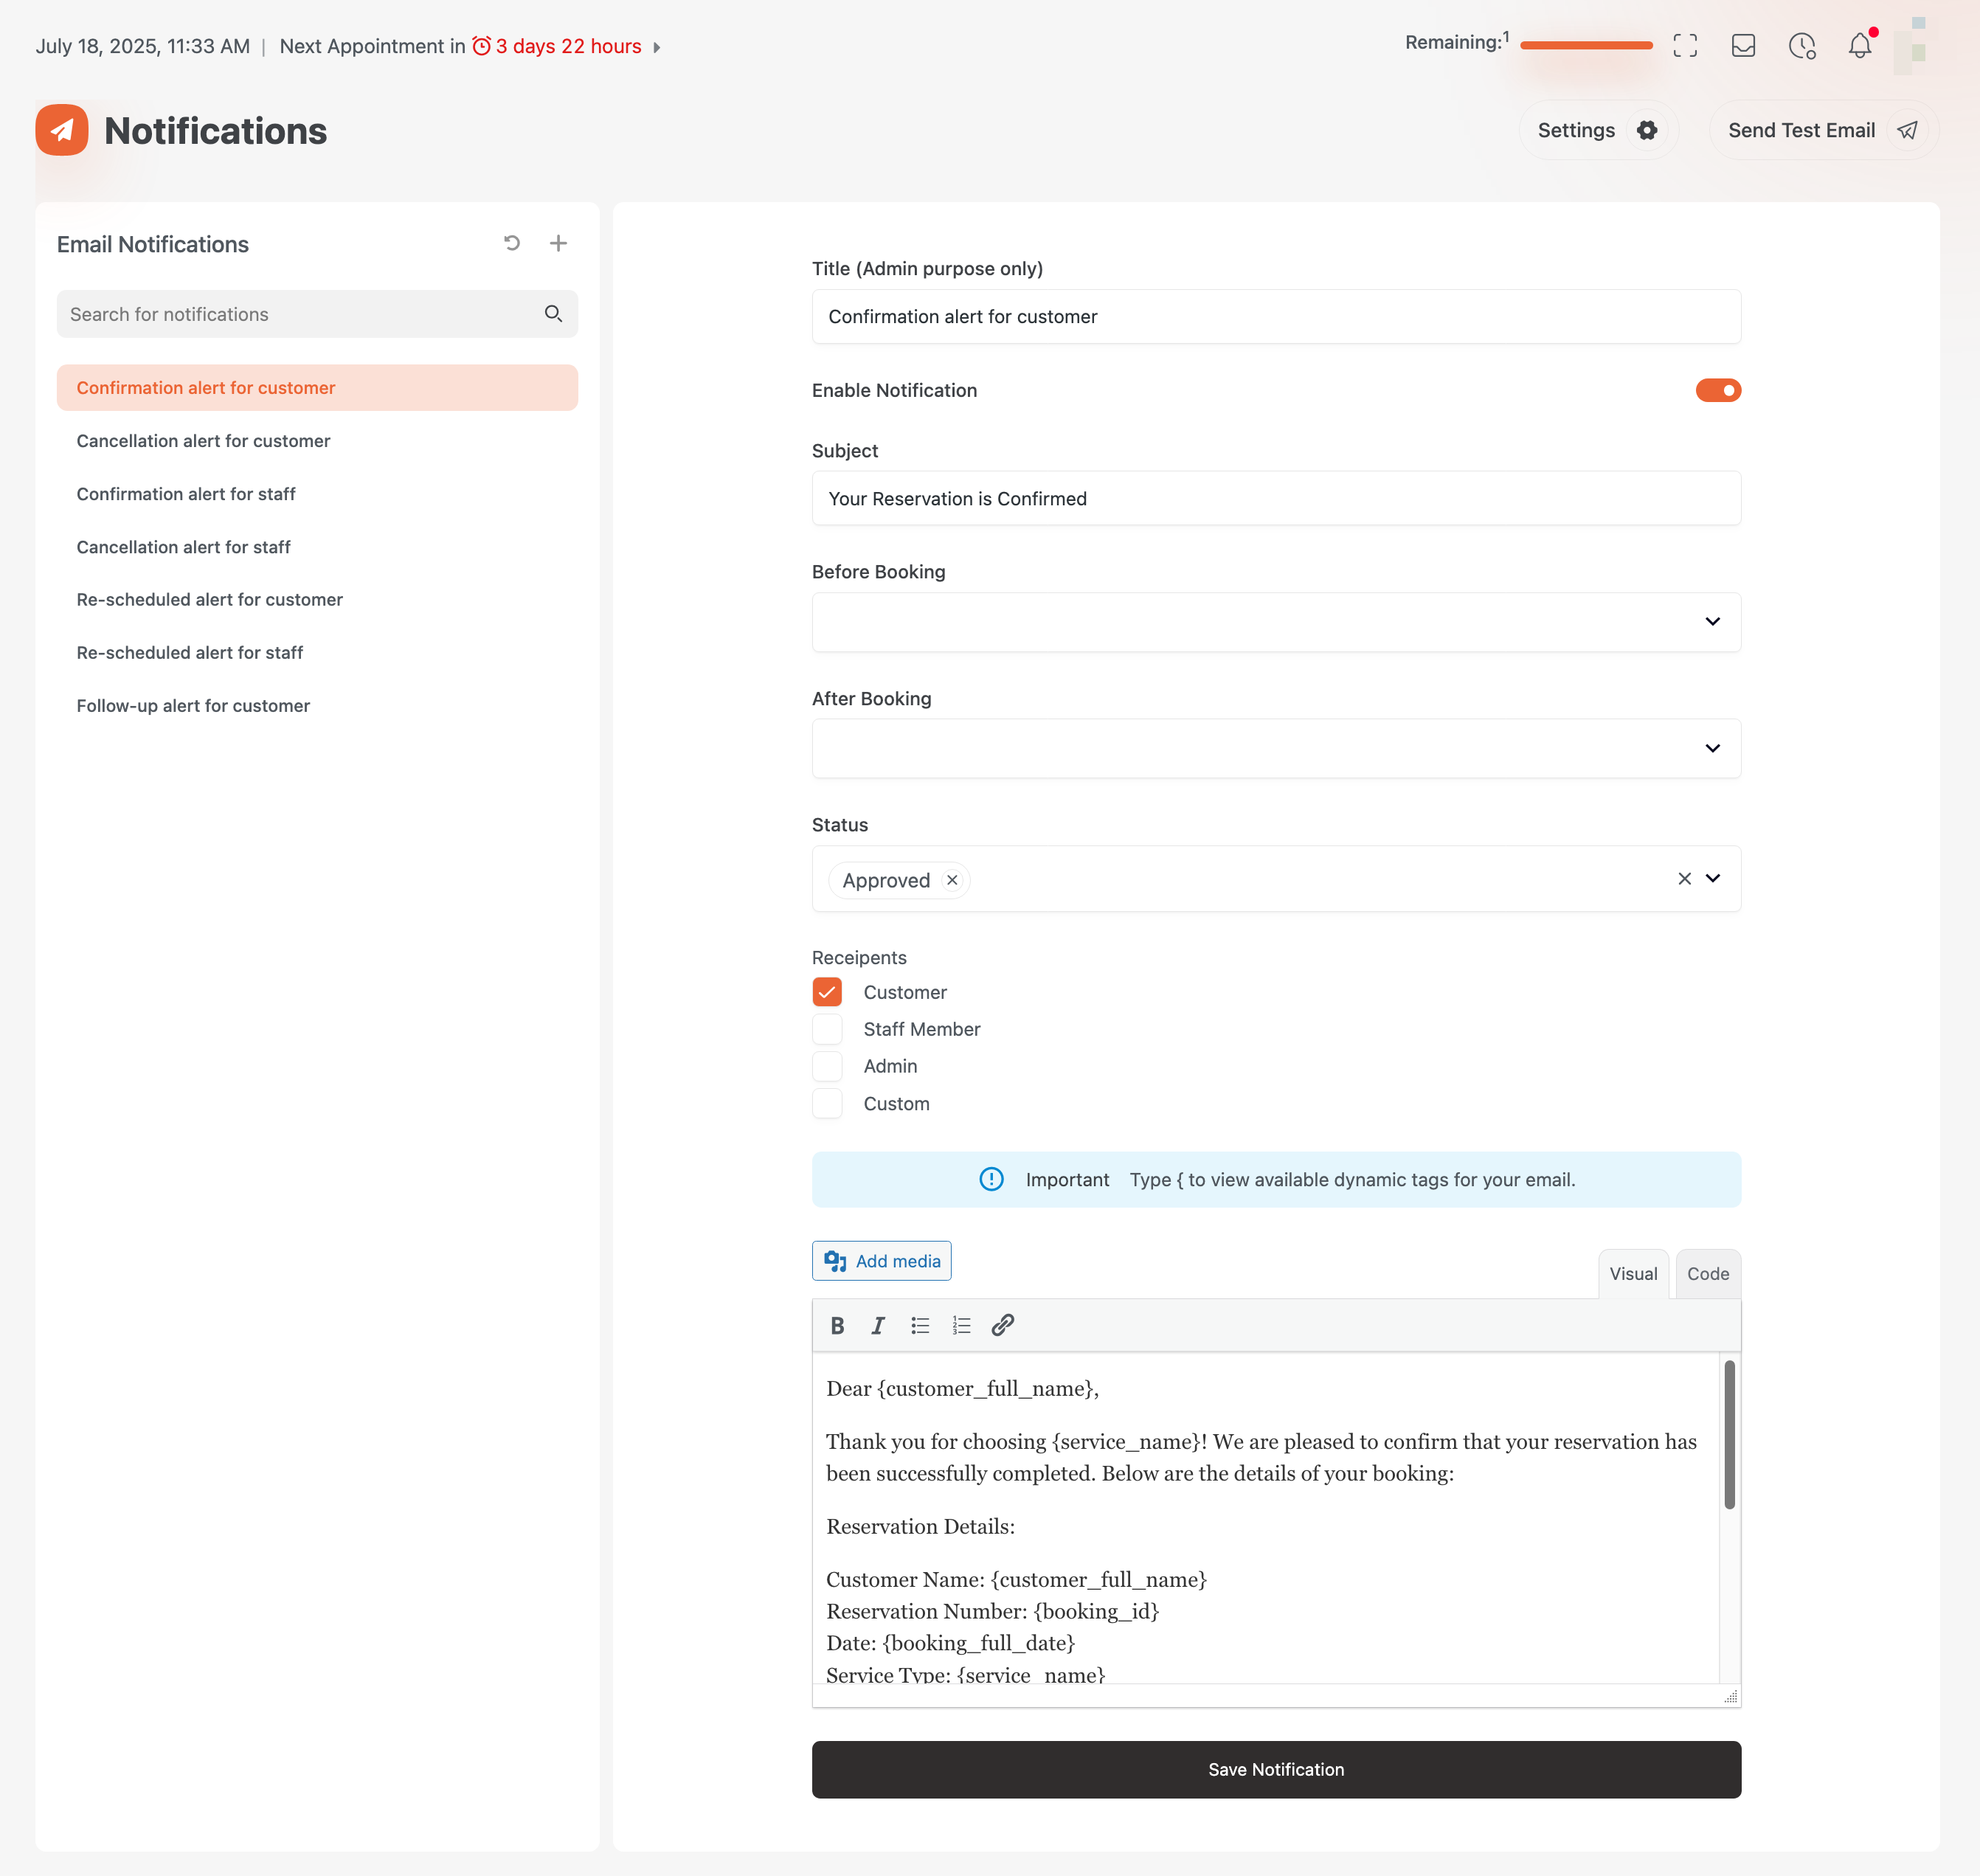
- Click the ➕ icon to create a new notification or select an existing one (e.g., Confirmation alert for customer).
- Enter a Title (for admin use only).
- Toggle Enable Notification to activate it.
- Add a Subject — this is what the email recipient will see as the subject line.
📆 Choose When It Triggers
You can set the notification to send:
- Before Booking – Choose a specific timeframe before the appointment.
- After Booking – Ideal for confirmation, reminders, or follow-ups.
For example, a confirmation email is usually triggered after booking with status set to Approved.
🧠 Filter by Booking Status
Set the Status to determine when the email should be sent. Options include:
- Approved
- Pending
- Cancelled
- Rescheduled
- Refunded
- Completed
- Details Changed
👥 Select Recipients
Check the boxes for who should receive the notification:
- ✅ Customer
- 👤 Staff Member
- 🛠️ Admin
- ✏️ Custom Email (manually entered)
📝 Compose the Email Content
Use the rich text editor to create your email body. You can use dynamic tags to personalize each message.
Example:
Dear {customer_full_name},
Thank you for choosing {service_name}! We are pleased to confirm that your reservation has been successfully completed. Below are the details of your booking:
Reservation Details:
Customer Name: {customer_full_name}
Reservation Number: {booking_id}
Date: {booking_full_date}
Service Type: {service_name}
Location: {location_address}
Extra:
{extras}
We look forward to serving you and ensuring you have a pleasant experience!
Best regards,
{company_name}
{company_phone}
{company_address}💡 Type
{in the editor to view all available dynamic tags.
🖋️ Email Sender & Footer
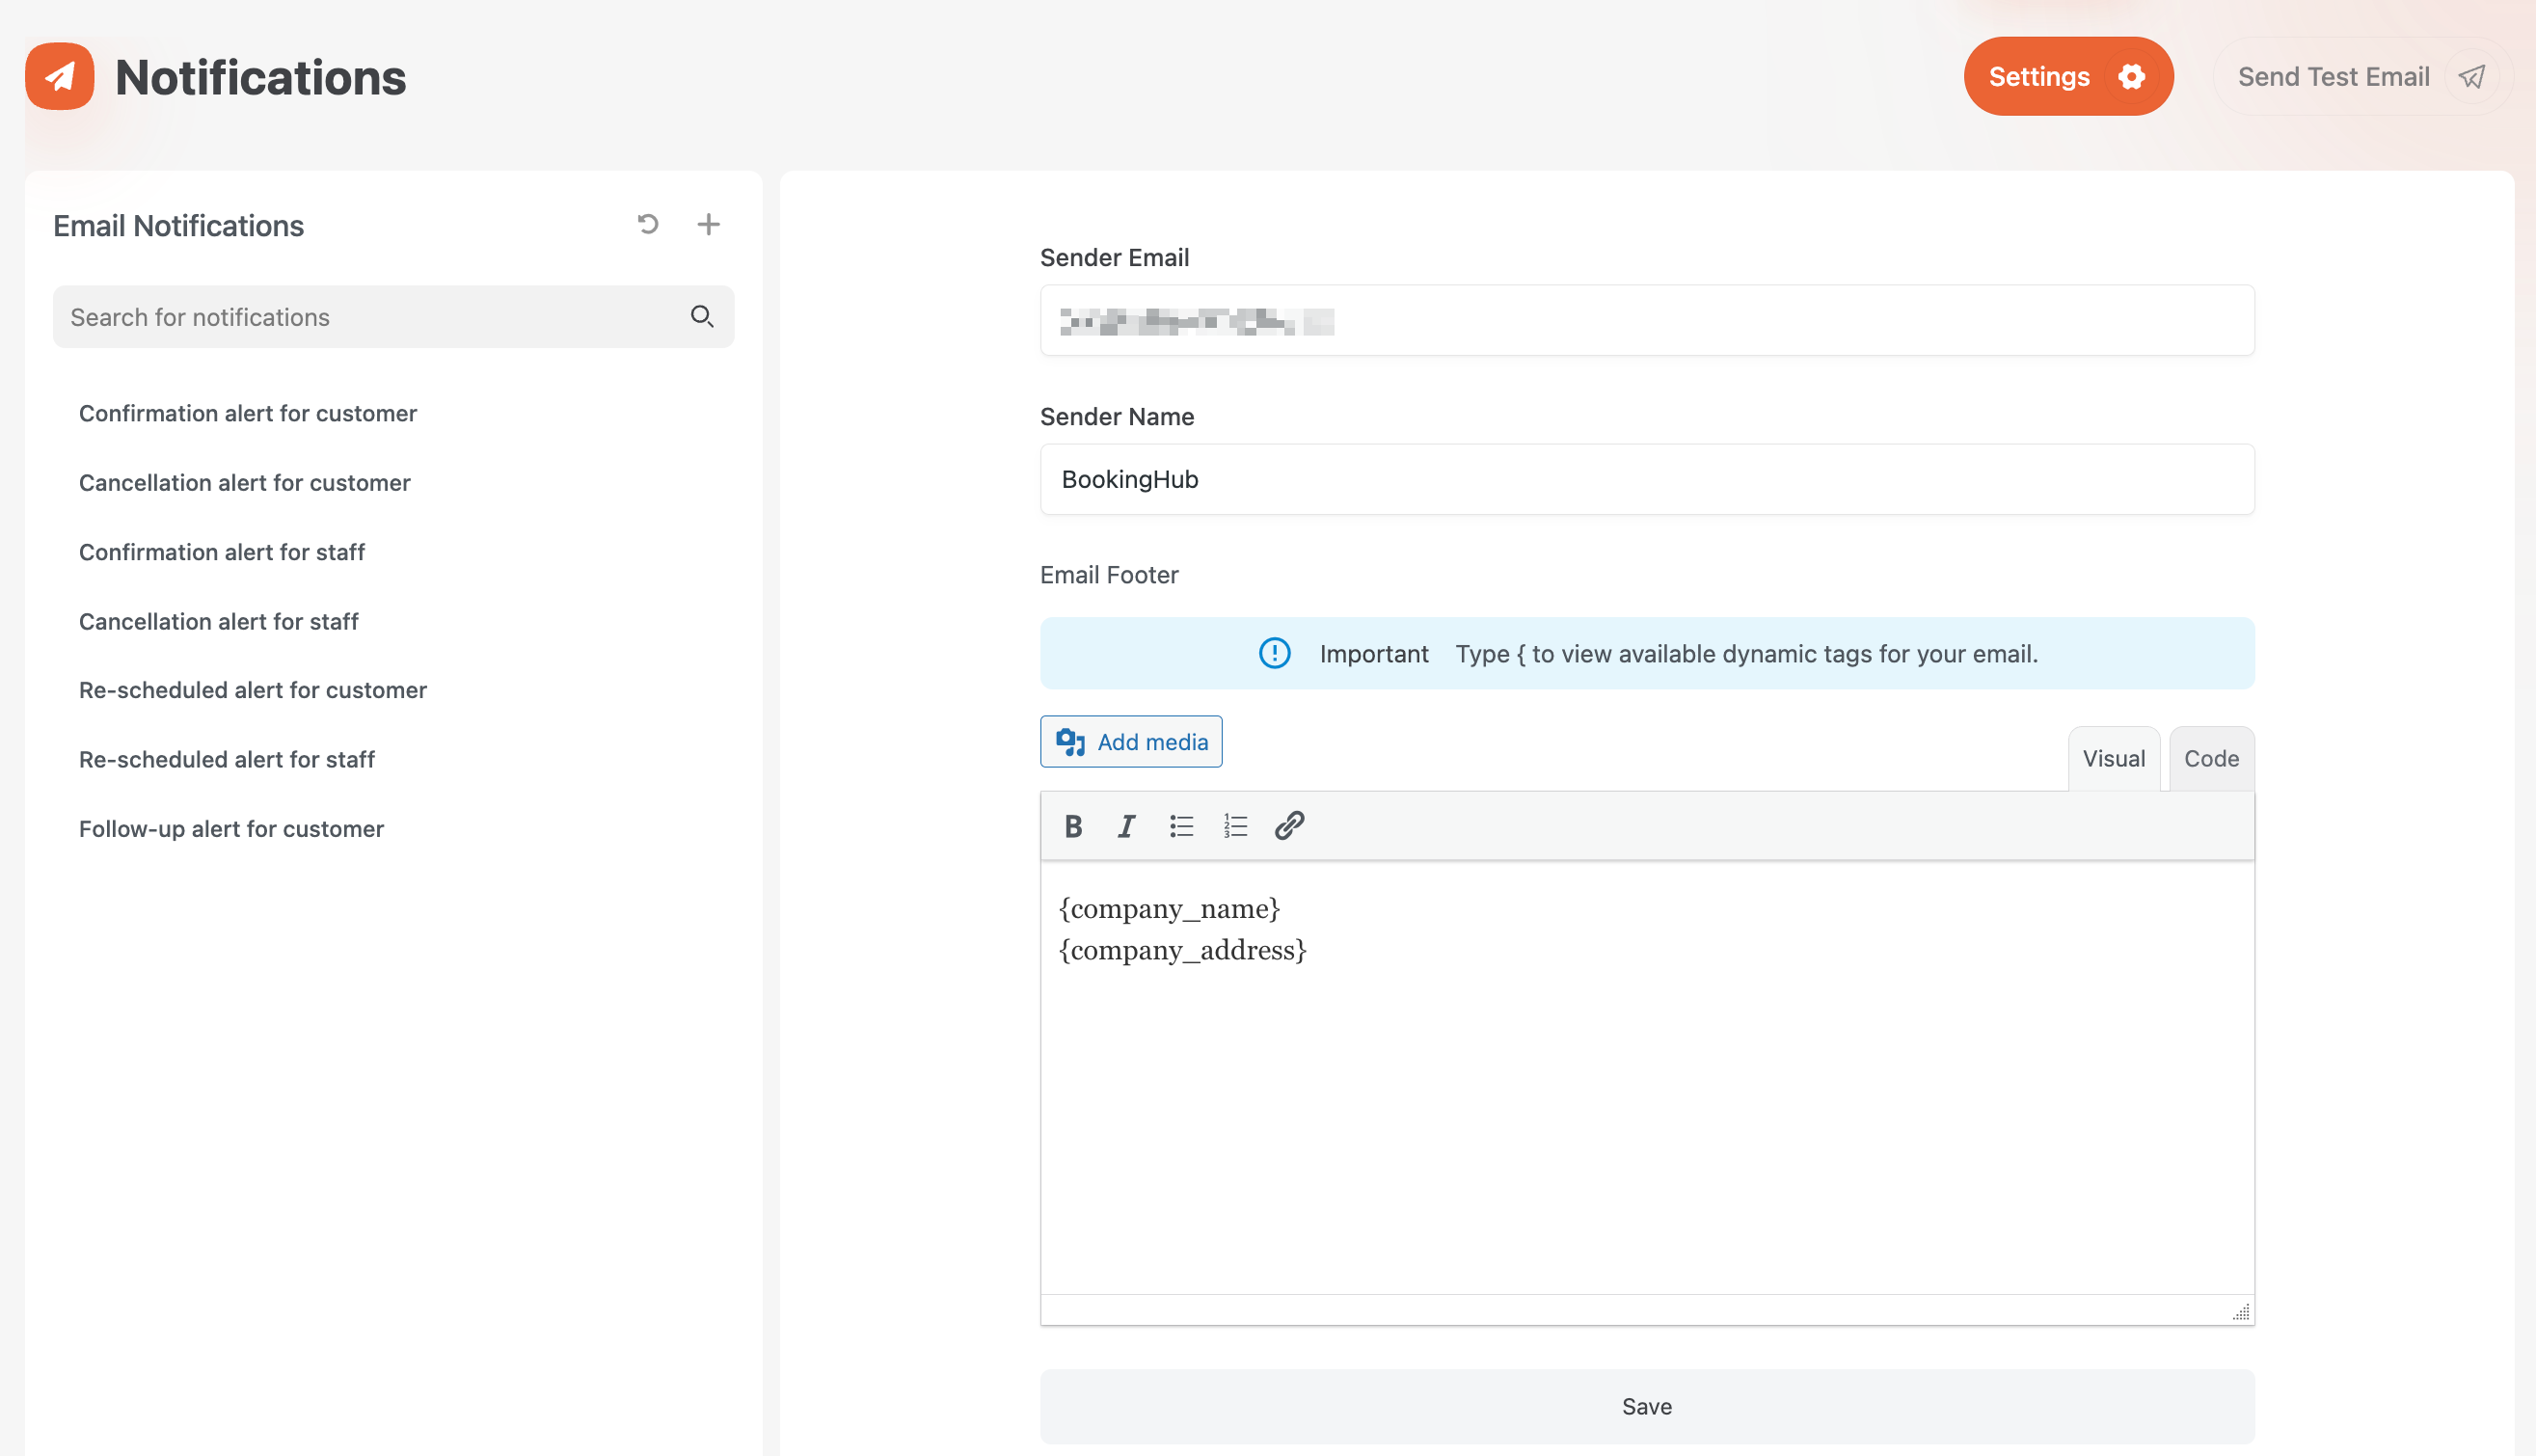
- Click on Settings in the top right corner.
- Fill in the Sender Email and Sender Name.
- Add your Email Footer with dynamic tags like:
{company_name}
{company_address}🚀 Test & Save
- Click Send Test Email to preview your email.
- Click Save Notification when you’re ready.