BookingHub includes a powerful and intuitive Setup Wizard to help you get started in just a few steps. Once you install and activate the plugin, the Setup Wizard will walk you through essential configurations to launch your booking system quickly.
Follow this step-by-step guide to complete the wizard with ease.
🔑 Step 1: Activate Your License
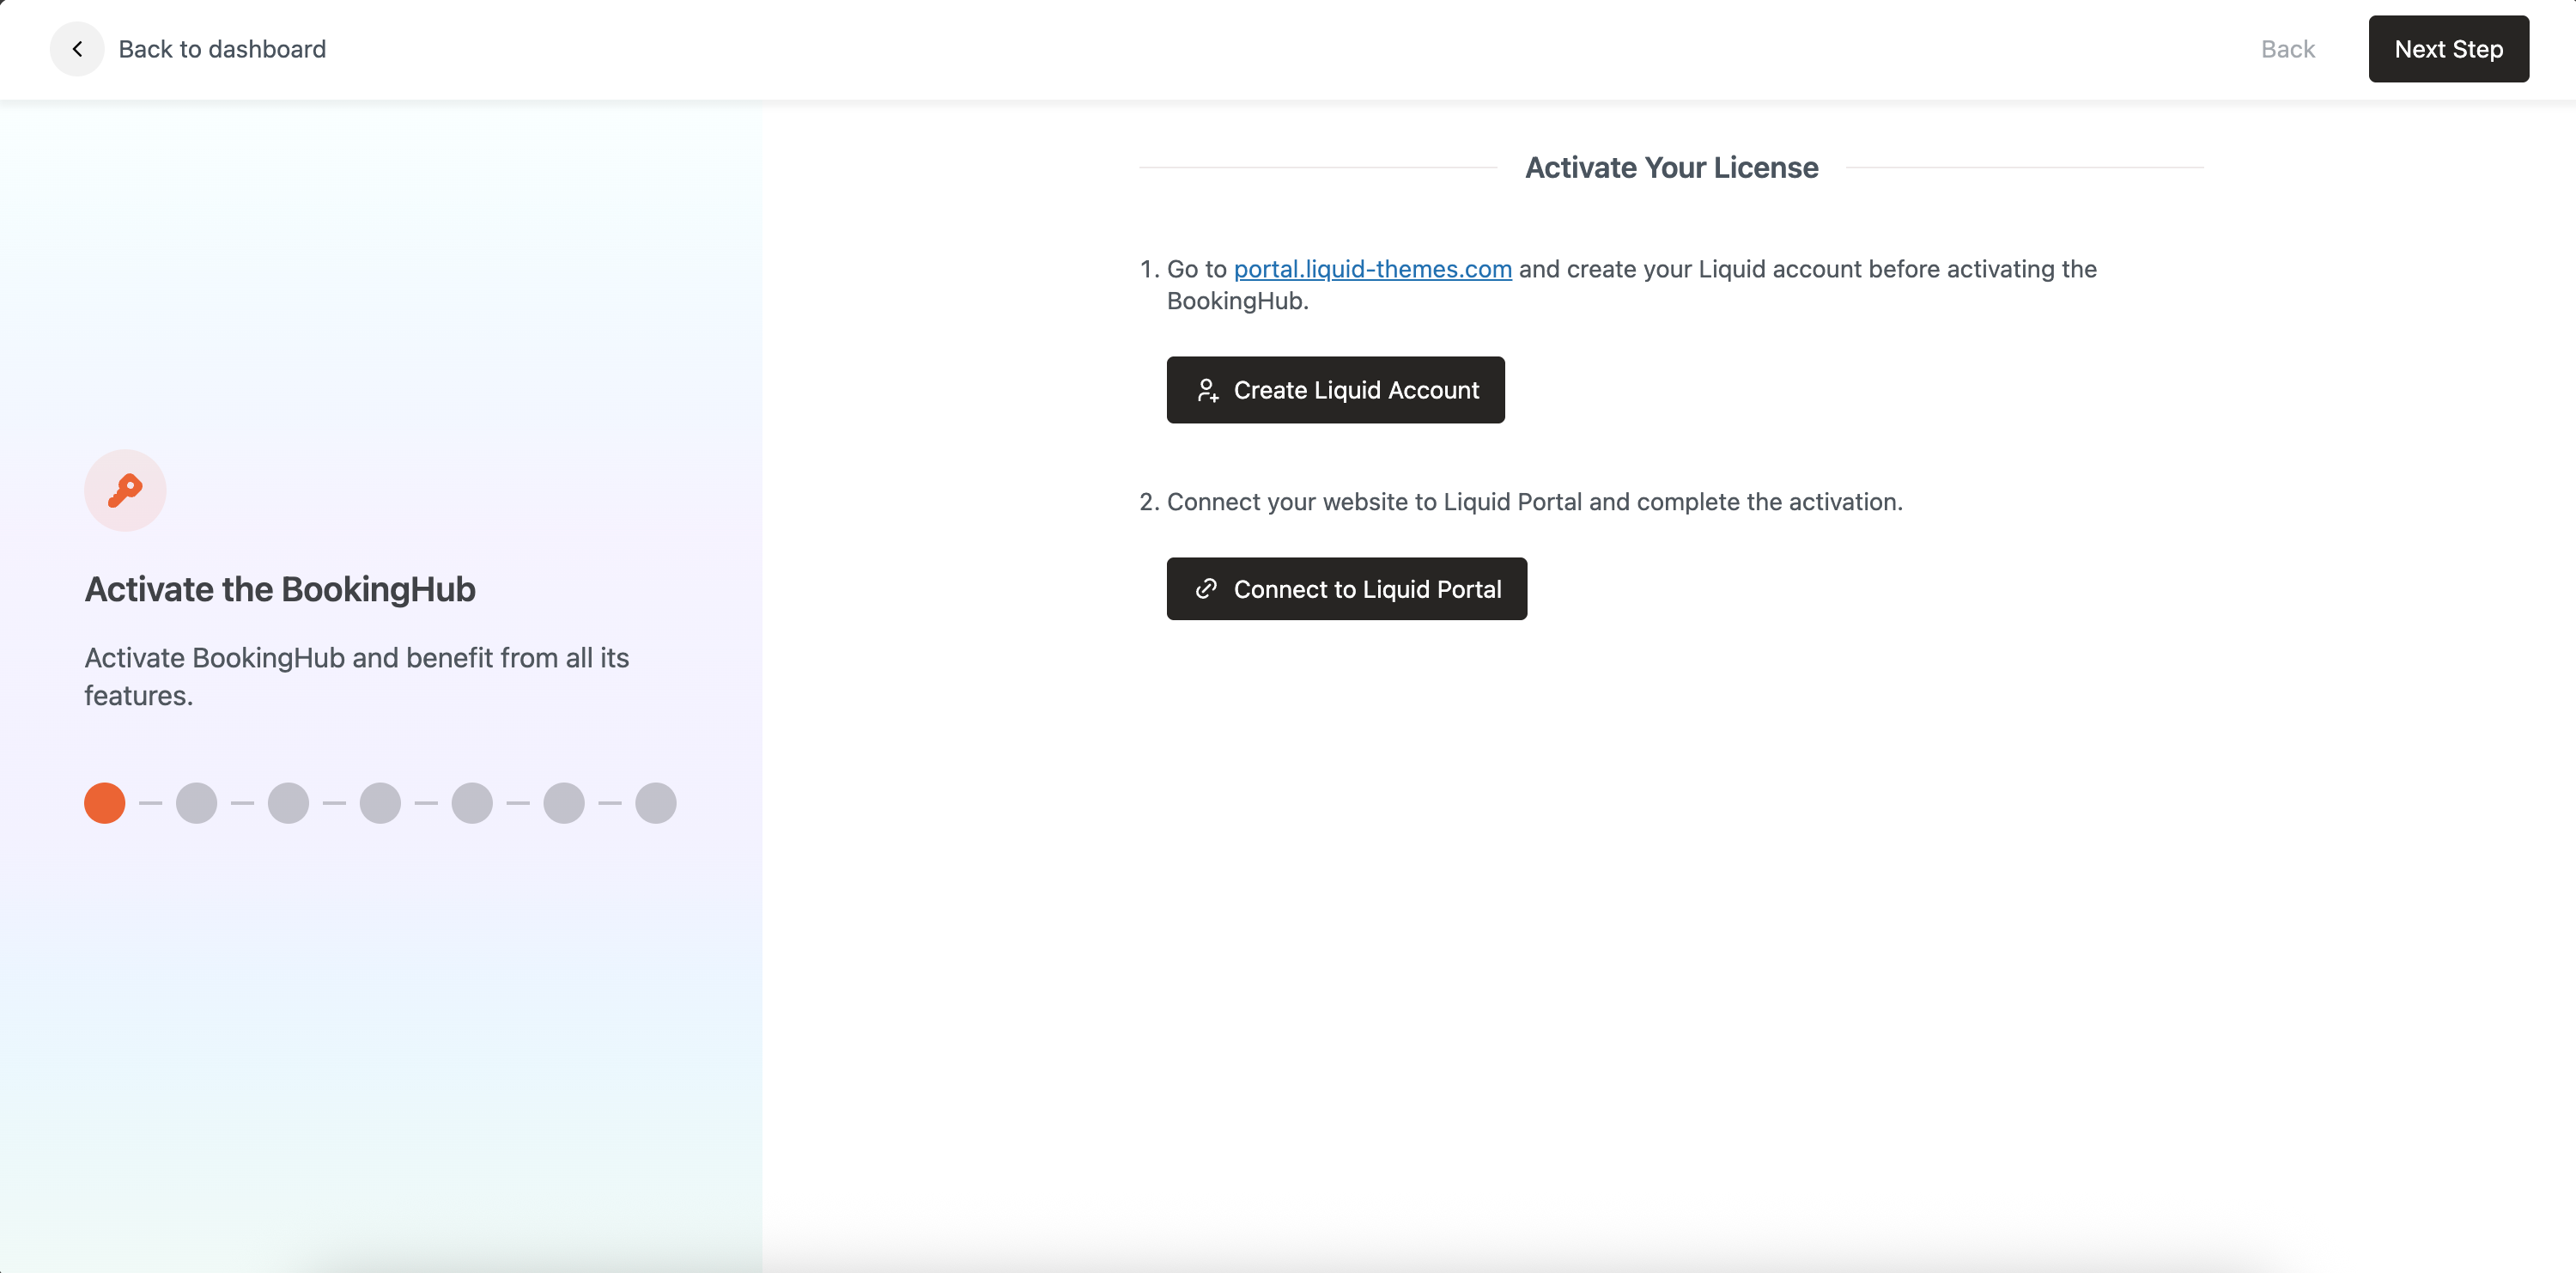
To unlock BookingHub features, you must activate your license.
Visit portal.liquid-themes.com and create a Liquid account.
Once registered, click Connect to Liquid Portal to authorize your website.
✅ This step ensures access to future updates, demo content, and premium support.
⚙️ Step 2: Configure General Settings
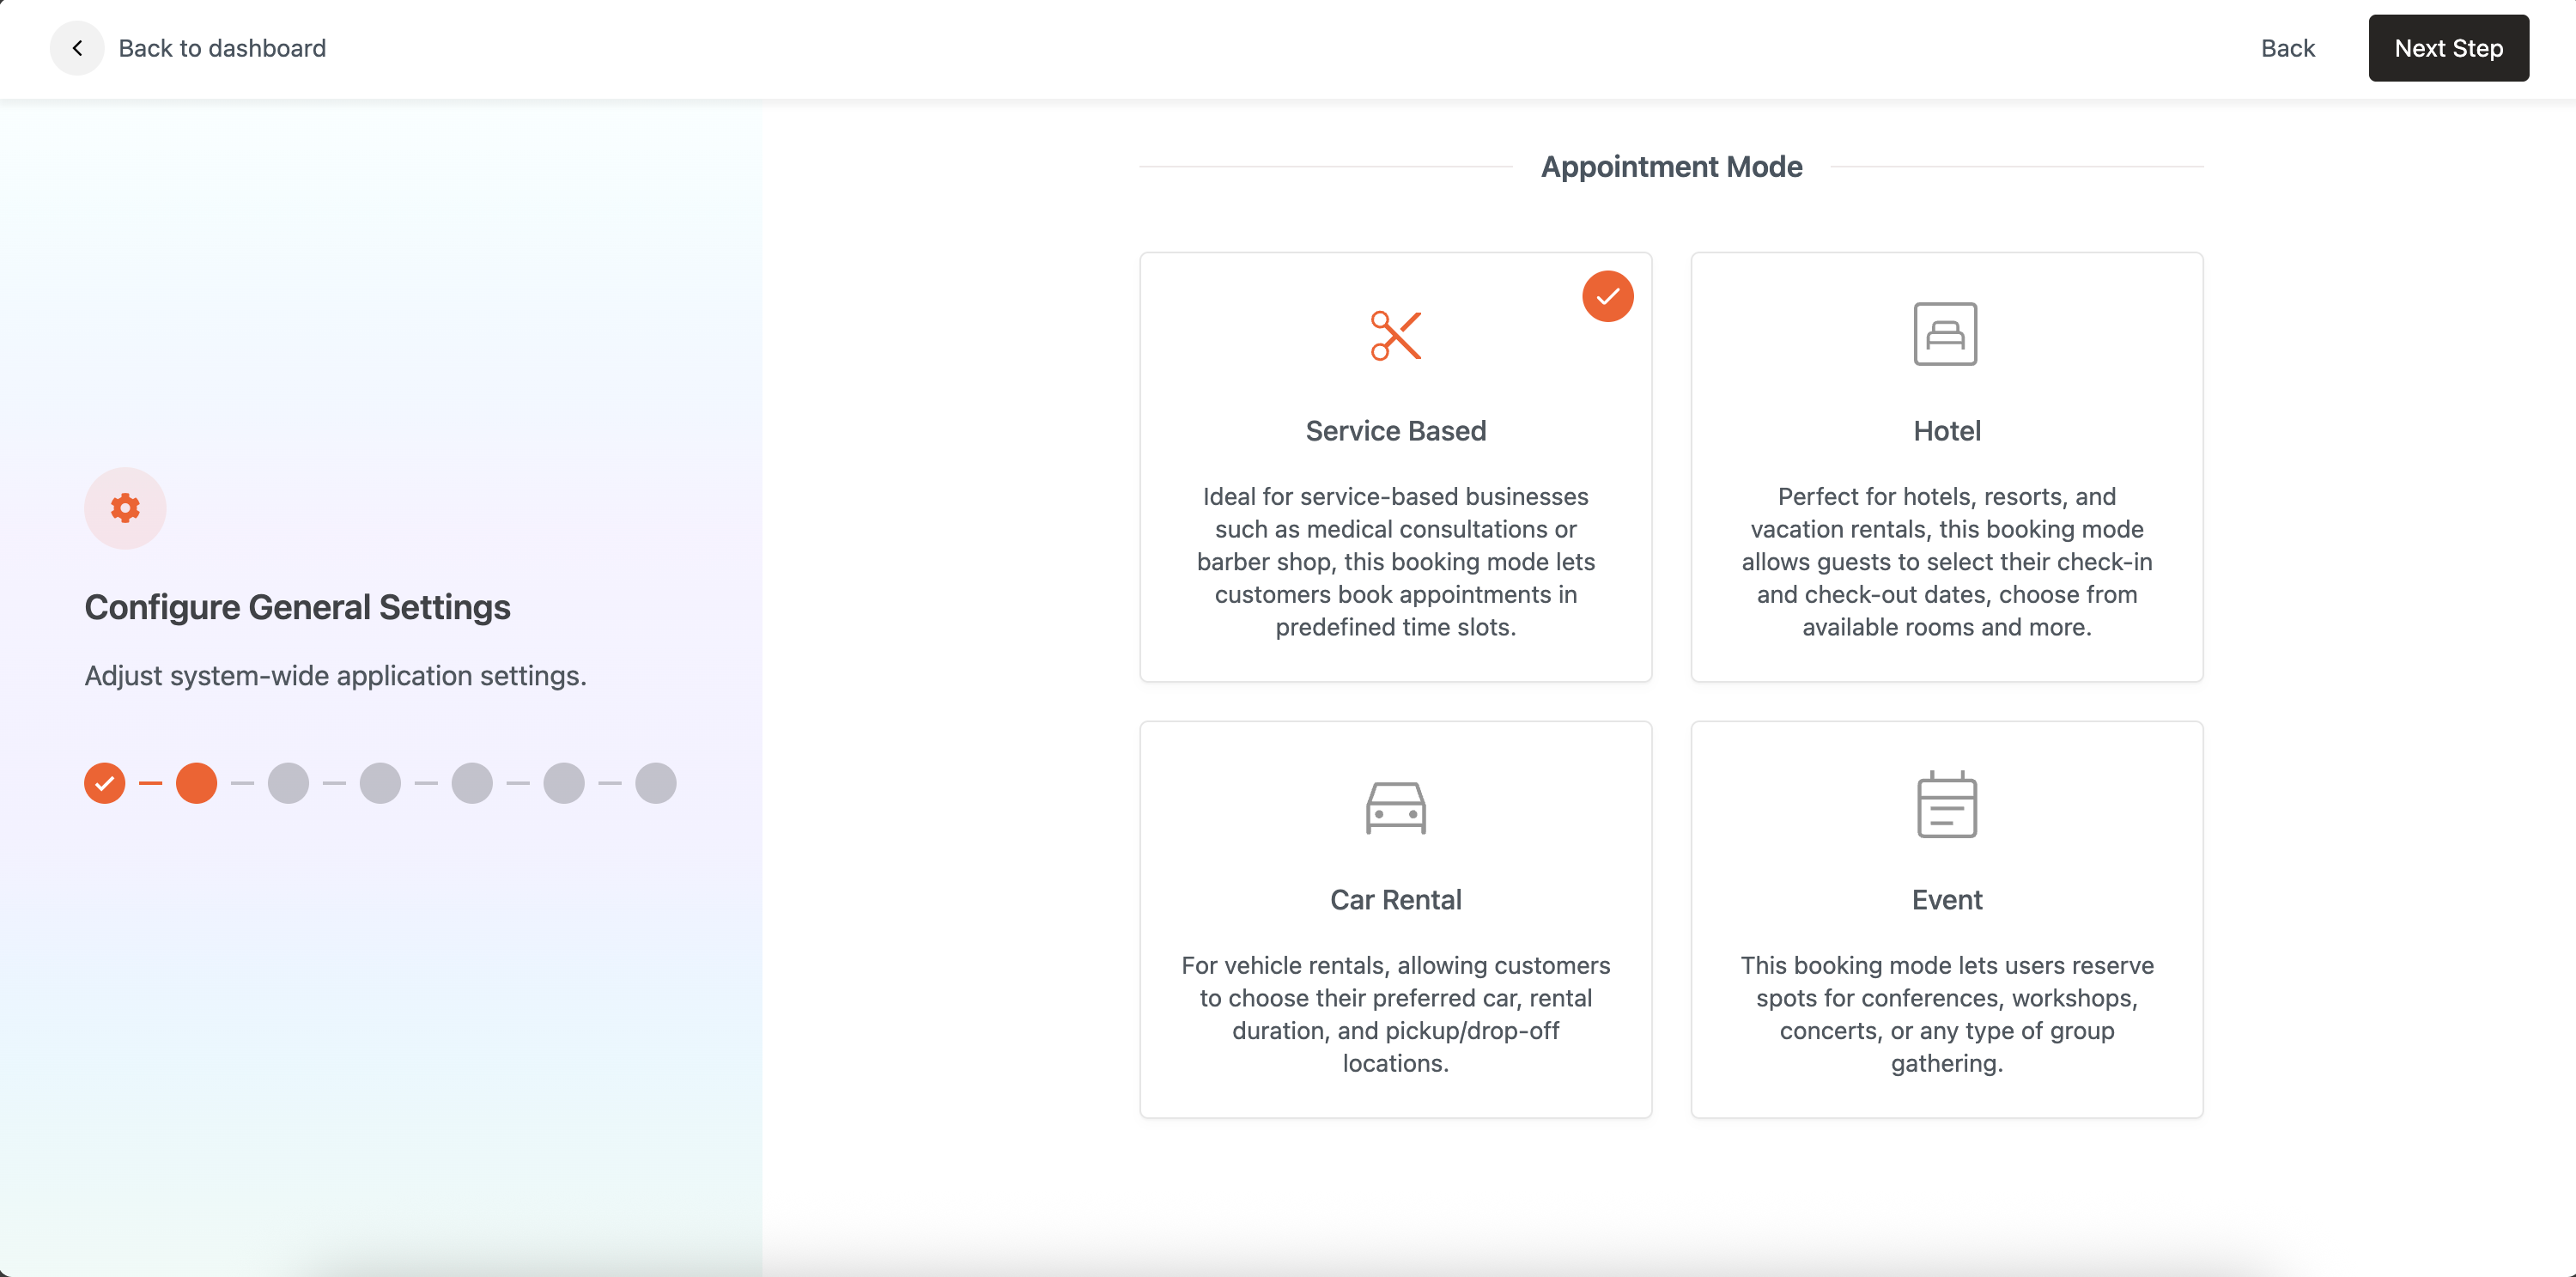
Choose your booking mode based on your business type:
Service Based: For appointments like salons, clinics, coaching, etc.
Hotel: For hotels, vacation rentals, or hostels.
Car Rental: For vehicle or equipment rentals.
Event: For conferences, concerts, or workshops.
📝 You can change the mode later in plugin settings.
🖥 Step 3: Choose View Mode
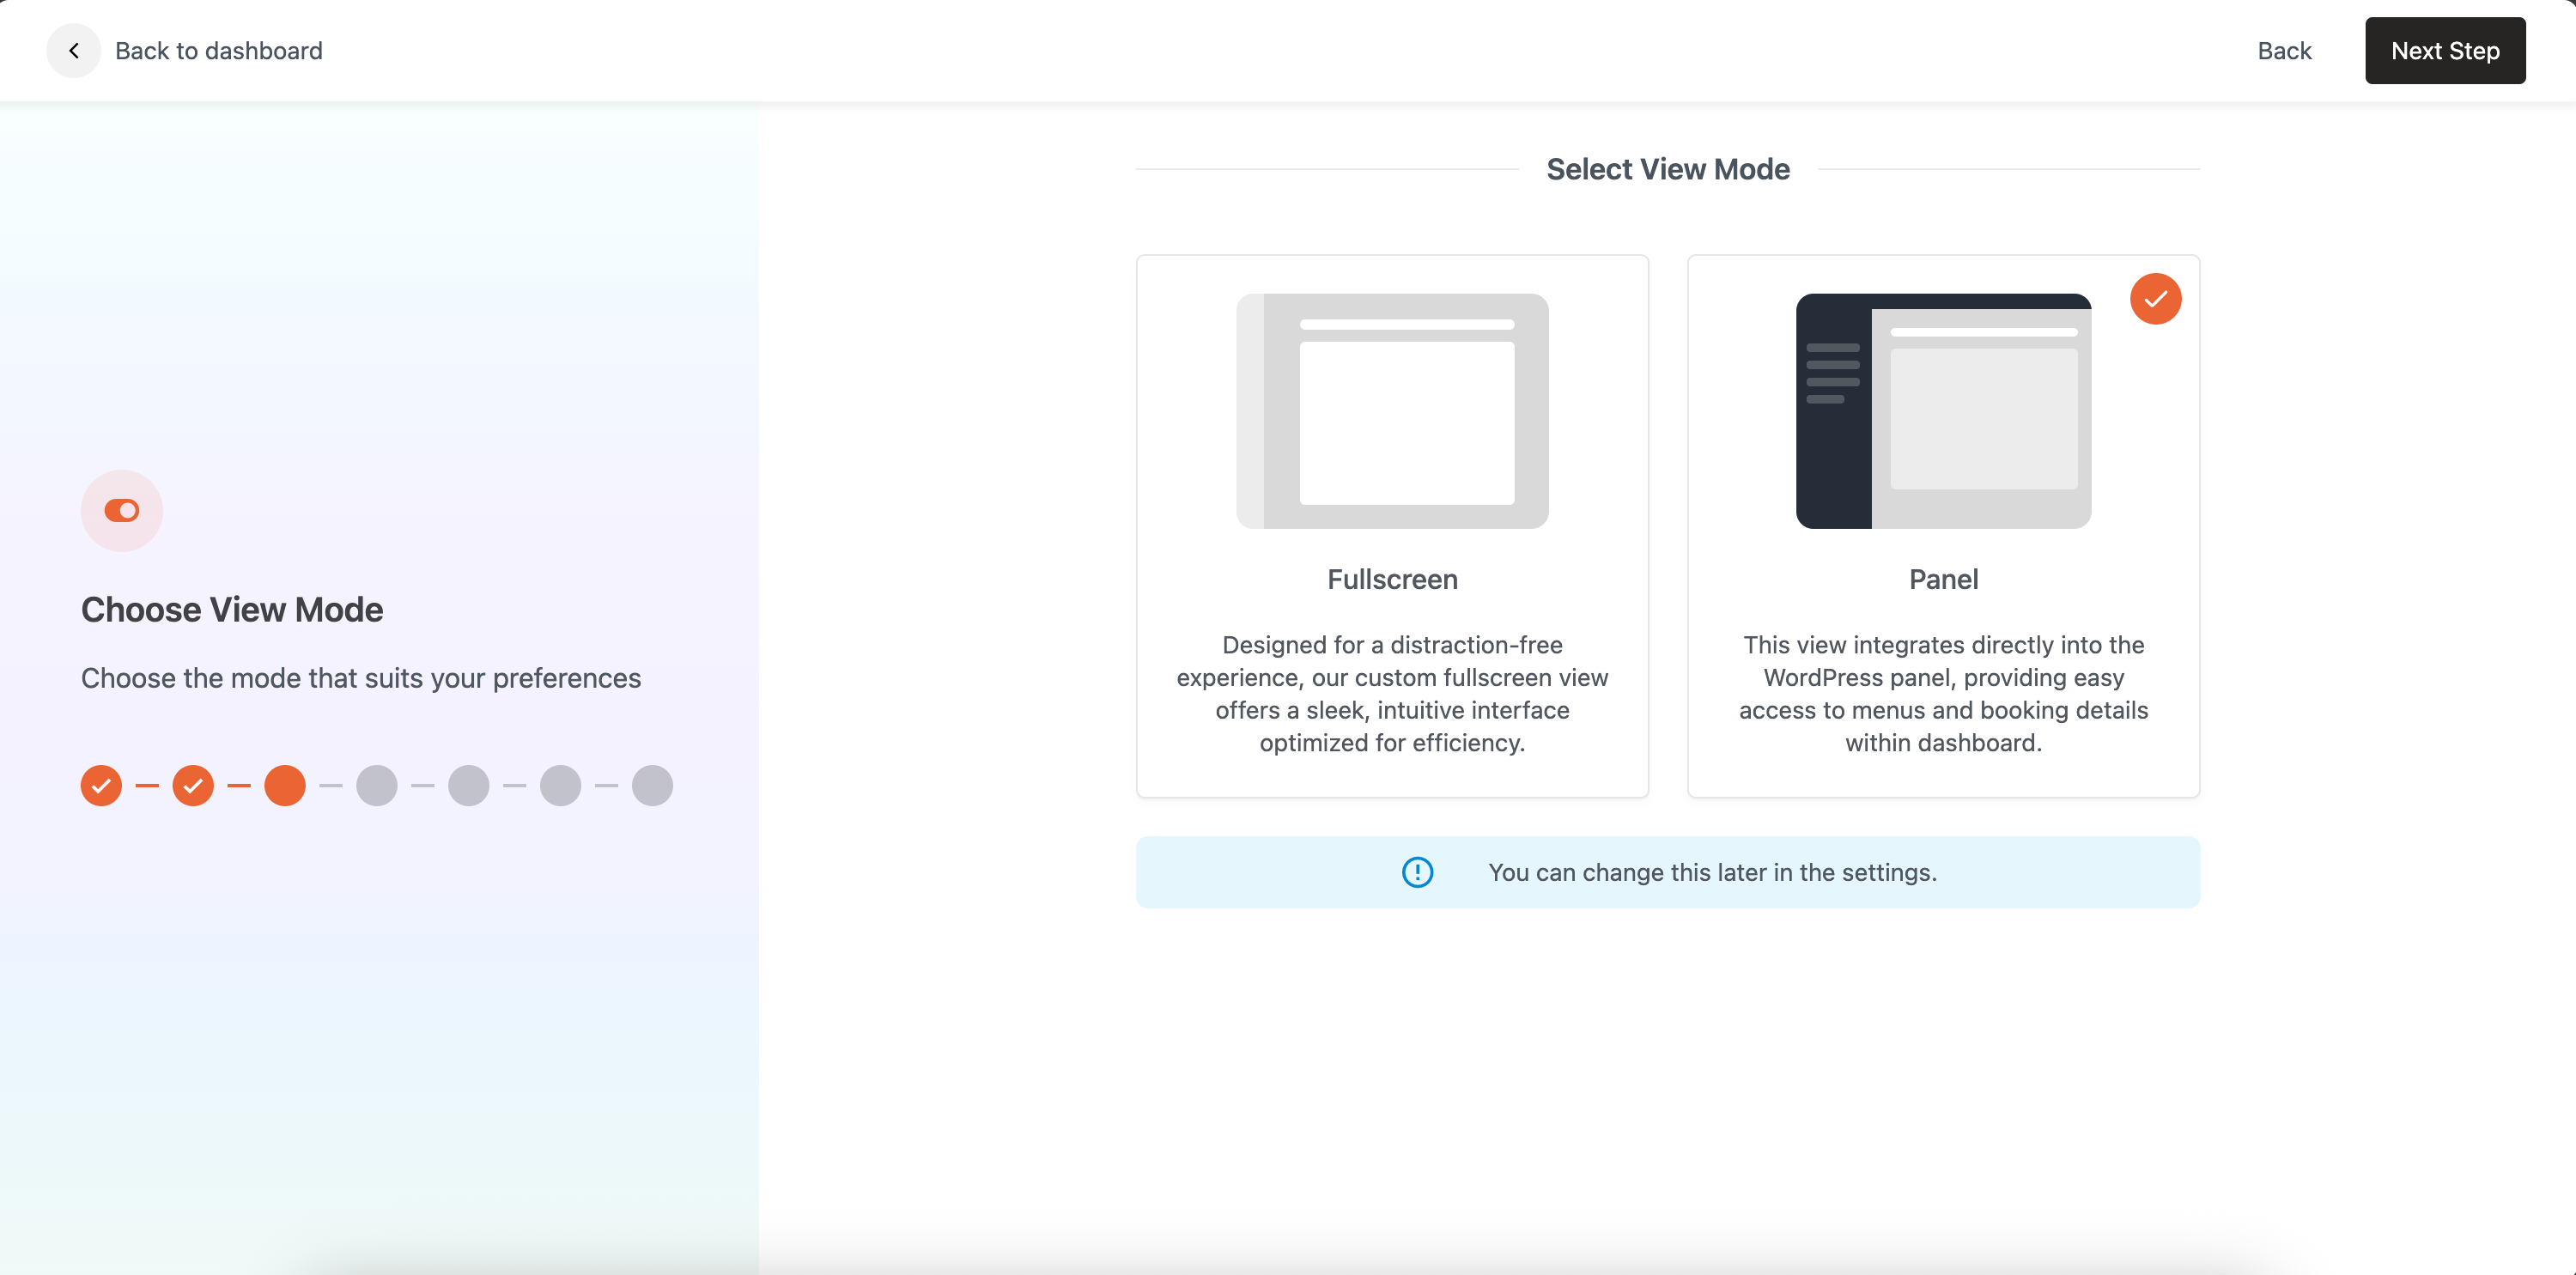
Select your preferred interface style:
Fullscreen: Minimal, distraction-free workspace.
Panel: Integrated into WordPress admin with full dashboard controls.
💡 This can be changed later from BookingHub > Settings > Interface.
🏢 Step 4: Configure Business Settings
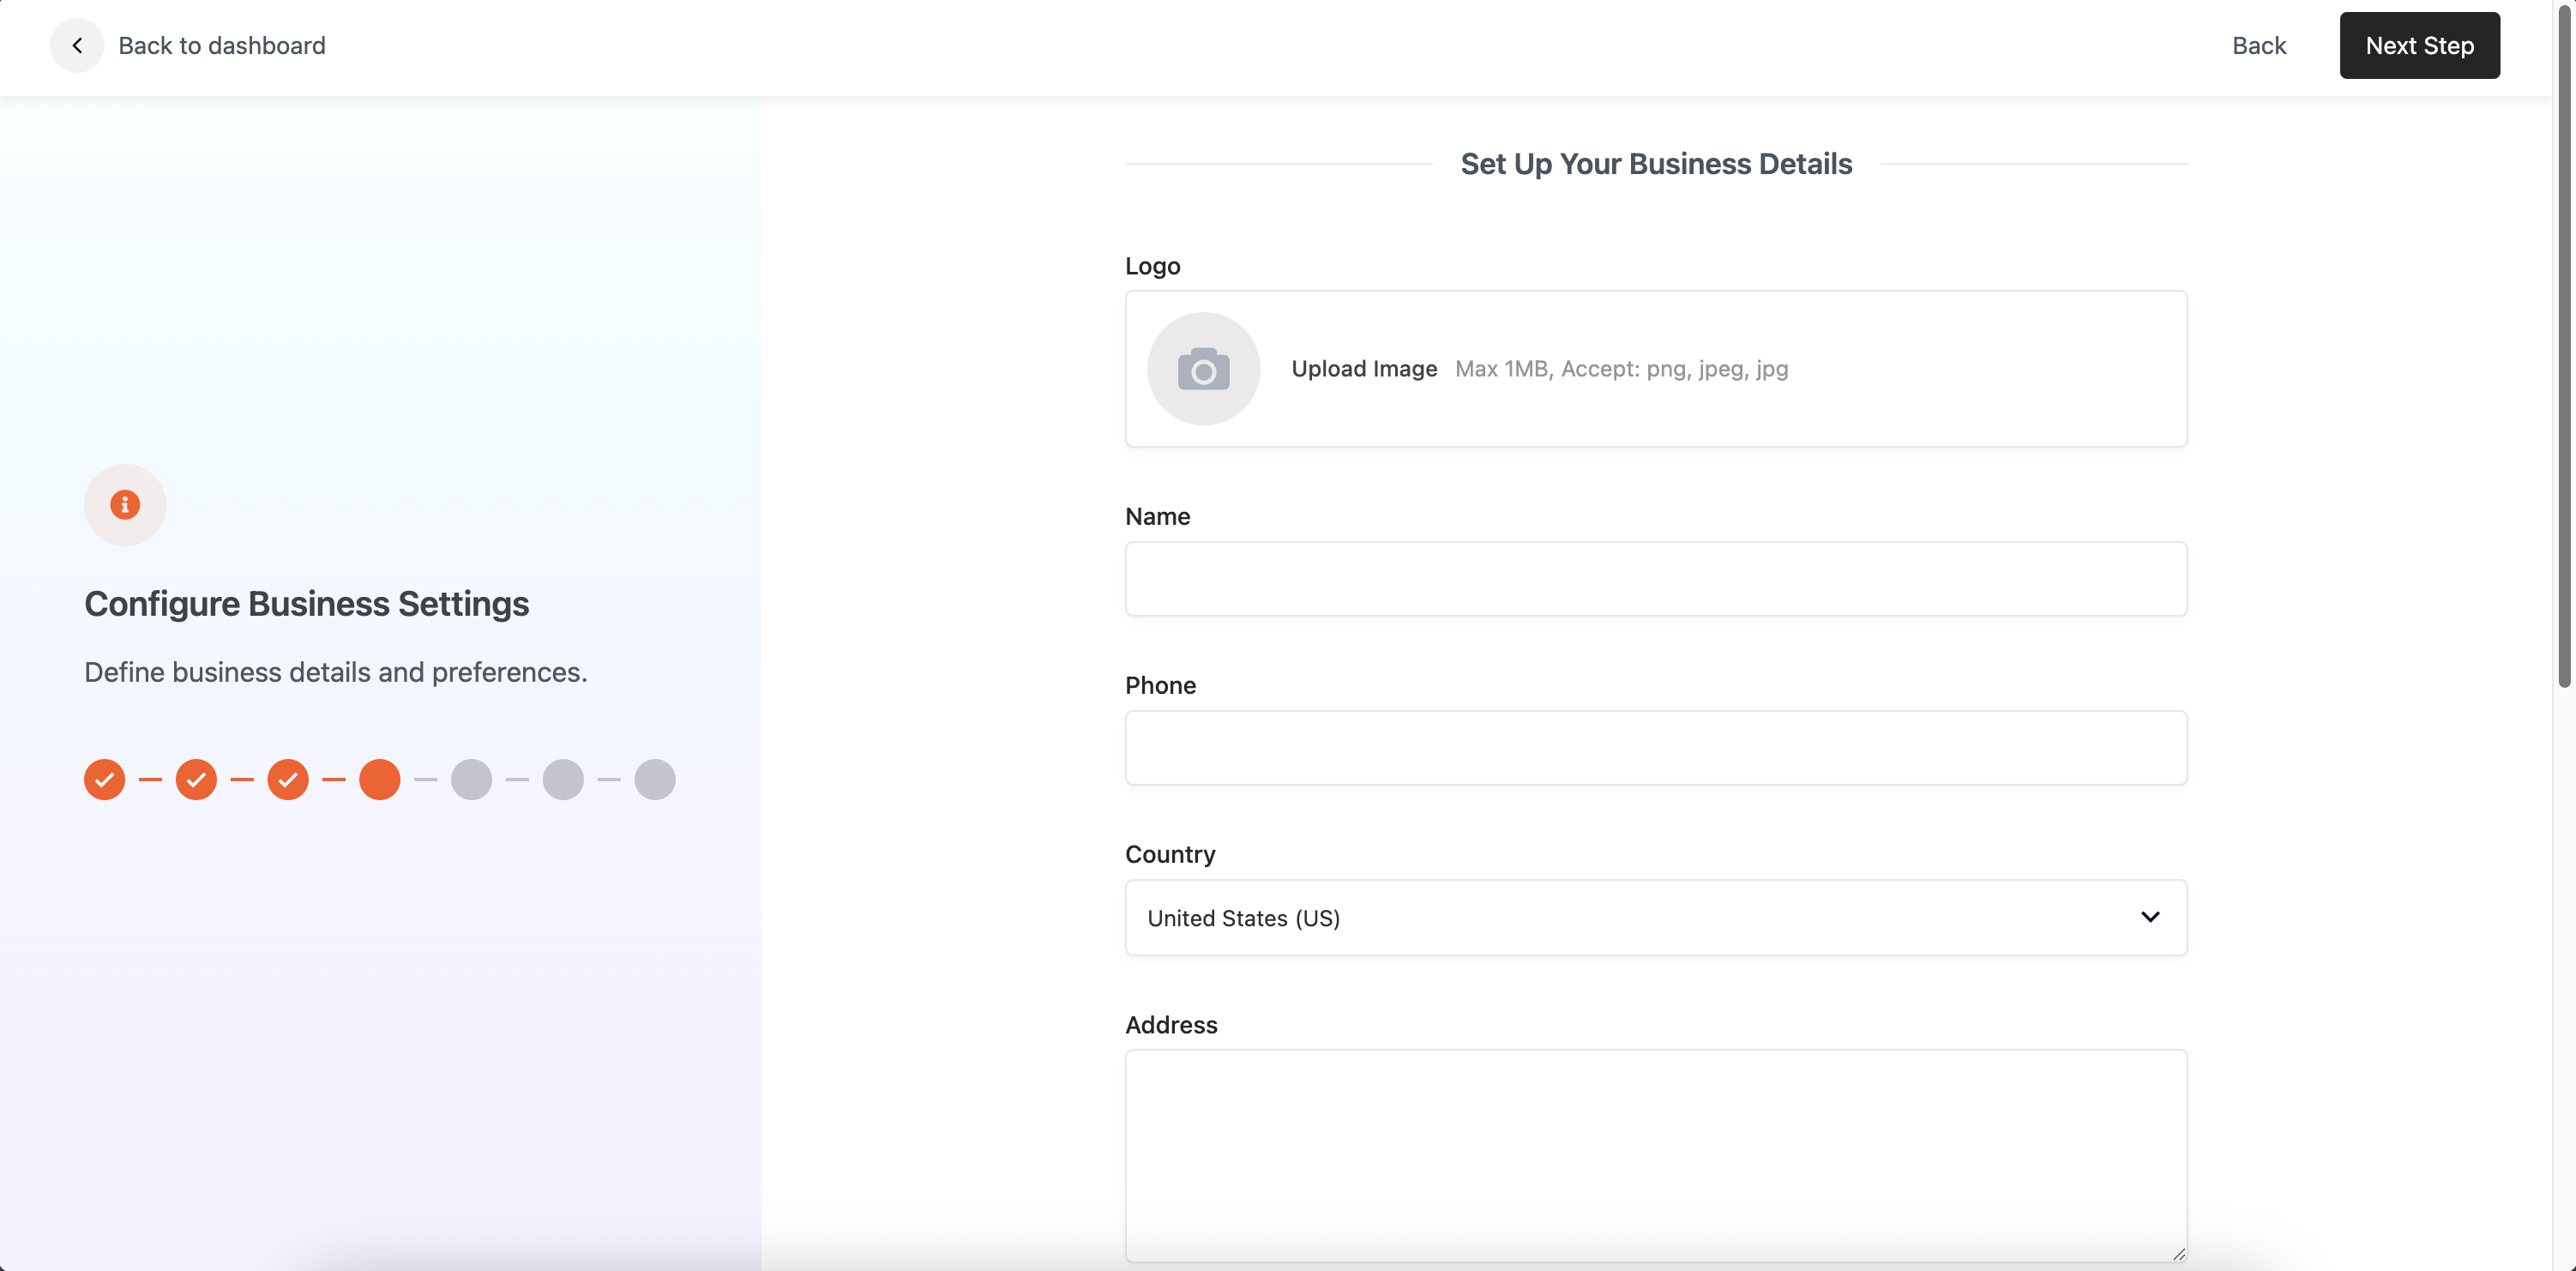
Fill out your business details:
Logo (PNG/JPG, max 1MB) – (1MB limit may vary depending on the upload limit of your server)
Business Name
Phone Number
Country
Address
Working Days and Hours
📅 These settings affect booking form availability and calendar logic.
📦 Step 5: Import Demo
Choose a demo layout (e.g. Classic) to pre-load sample data and settings. This helps you understand how the system works and speeds up configuration.
⚠️ Existing data will not be overwritten. You can remove demo content later if needed.
✅ Step 6: Complete Setup
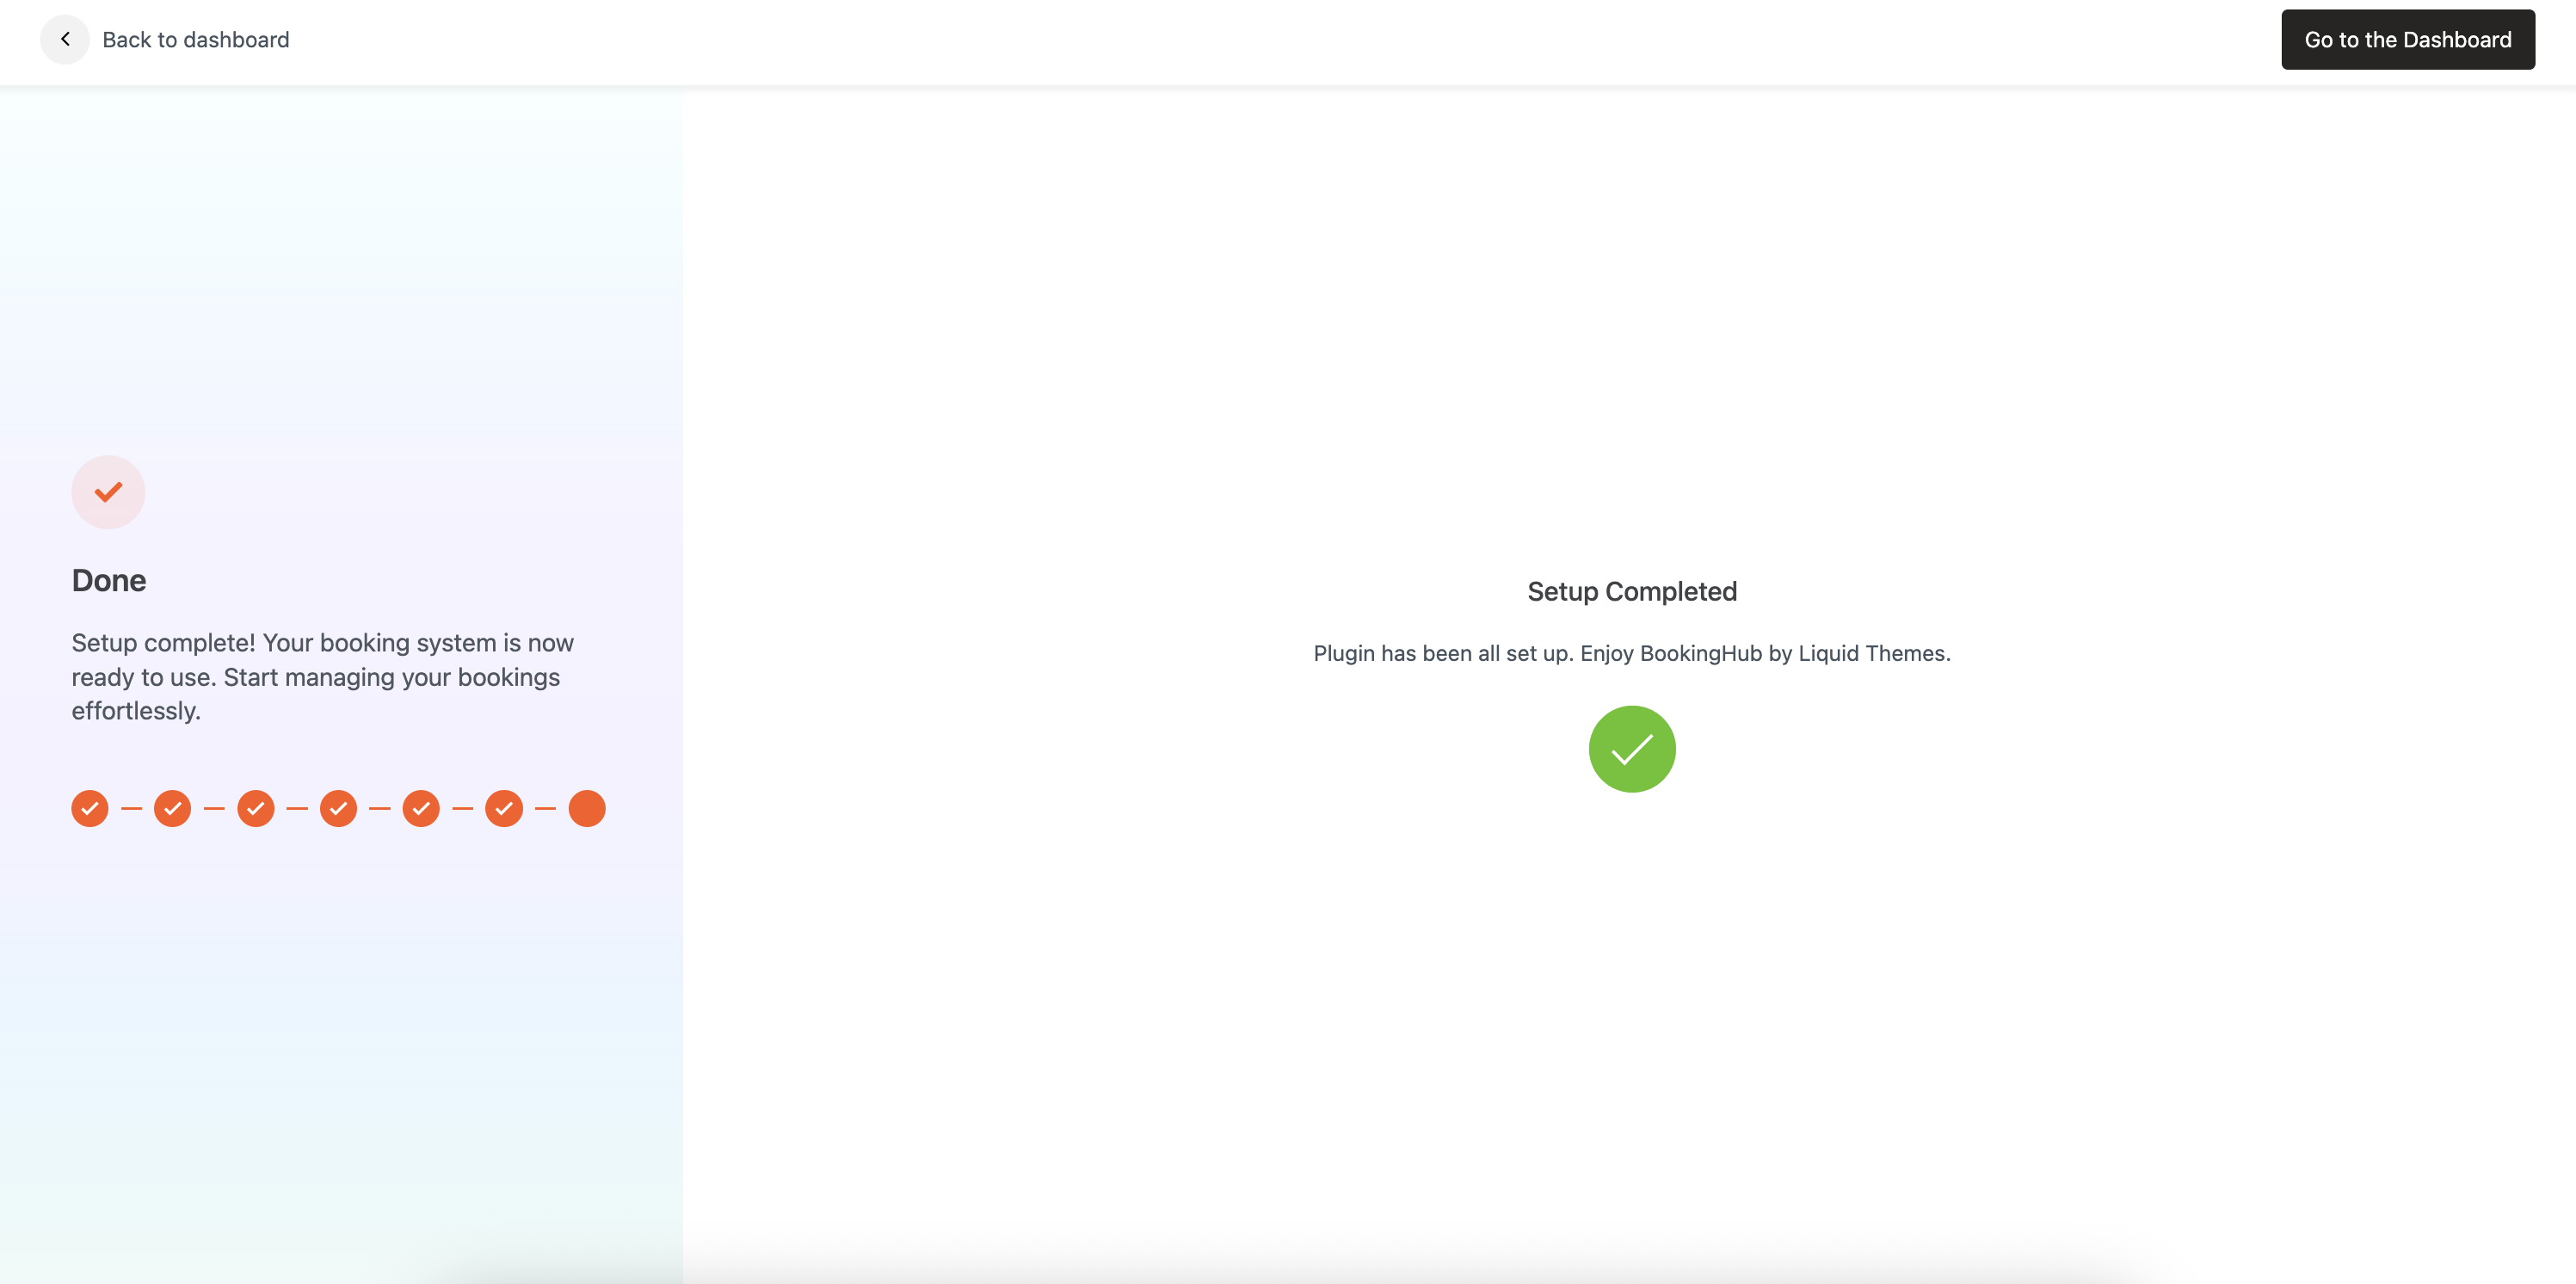
You’re done! 🎉
Once you’ve completed the wizard:
Your booking system is live.
You can manage services, appointments, and customers from your dashboard.
Click Go to the Dashboard to start exploring BookingHub!